The Ragged Robin: A Mending Story
The post below was written by our valued repairer and all-round good egg Kate, who has helped repair textiles since the beginning of the repair café. This is a walkthrough of how she did a tricky repair - we hope it gives a sense of the work we do, and what, if you’re brave, you can do yourself!
In this mending job I was confronted with a robin decoration which had met a dog! The felt cover of its tummy had been partially stripped off revealing the polystyrene ball underneath which was also damaged.
The first job was to peel back the top part of the body covering and the wings.
Then the largest losses in the polystyrene could be packed with wadding and then a layer of thin wadding sheet was pinned over the top to produce a smooth surface.
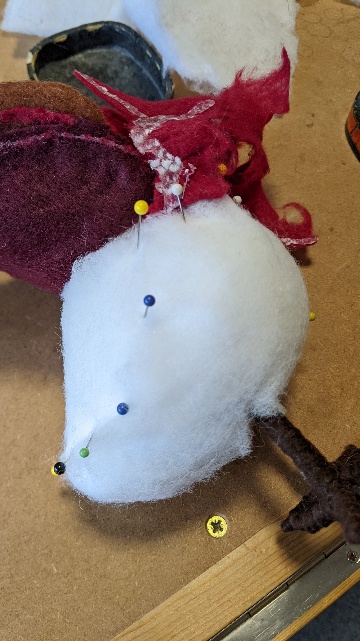 The damaged robin after its encounter with a dog - felt torn and felt awful too.
This was hand stitched in place.
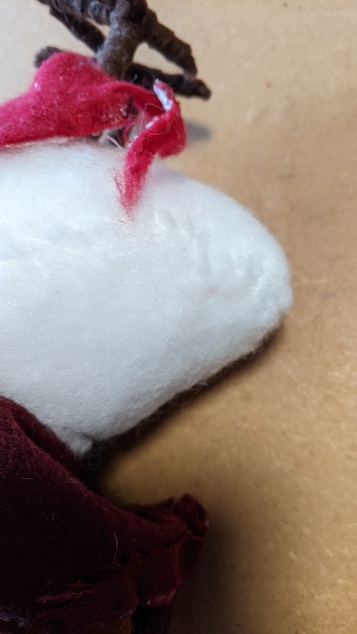 The body exposed, showing the repair area.
When the robin was originally made the body was covered and then the legs were put on. This was not possible in the reconstruction and there was a limited amount of the new red felt, so a piece of spare cerise felt was used to fit onto the tummy in order to make a pattern two extra seams had to be put in to allow the felt to be fitted around the legs.
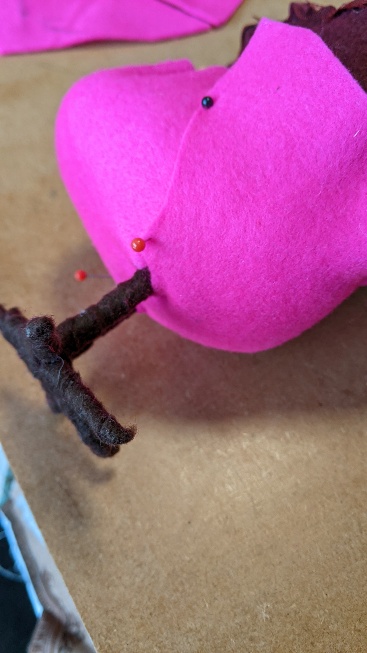
 Creating the felt pattern to fit around the legs - shown from multiple angles.
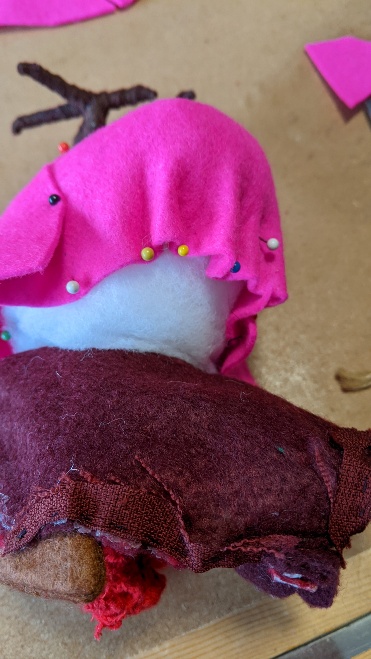
Once the fit of the felt was okay, the new felt was cut out and fitted. It was hand stitched onto the body and the top part and wings put back into place over the top and hand stitched into place.
The finished job is pictured below with the remains of the robin’s original tummy cover.
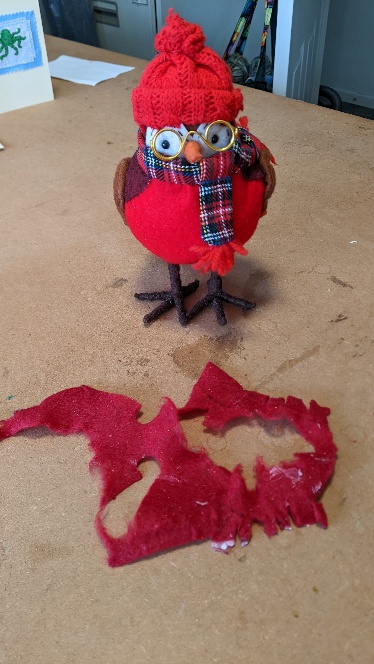 The repaired robin with its original tummy cover for comparison.
This repair typifies many that we do where the challenge is to work out the “how” as much as carry out the repair. But that’s the bit I enjoy!